

You look at a rough board and see more than wood. You see a shelf your kids could use, a coffee table that fits your tiny living room, or a cutting board that finally replaces the plastic one on your counter.
Then you look at the saw, the plans, the measurements, and you feel stuck.
If you feel clumsy, nervous around tools, or scared to waste wood, you are not alone. Mastering woodworking is not about natural talent. It is about learning skills in the right order, staying safe, and building small habits that stack up.
This guide gives you a clear path. You will go from picking wood and tools, to making strong joints, to adding simple finishes that make your woodworking carpentry last. Step by step, without shame, and at a pace that fits real life.
Start Here: What Mastering Woodworking Really Means For You
Mastering woodworking is not one big finish line. It is a long path with many small wins, and each win counts.
You do not wake up one day and build a perfect dining table. You build a small shelf. Then a box. Then a stool. Each project teaches you something new, even if you see gaps and crooked lines.
The point is not to never make mistakes. The point is to keep learning without quitting.
Set clear woodworking goals so you stay motivated
Vague goals drain your energy. If your goal is “get good at woodworking,” how do you know when you succeed?
Try simple, clear goals instead, such as:
- “Build a small wall shelf for my hallway.”
- “Learn 3 basic joints this month.”
- “Finish my first project with a stain and clear coat.”
You can split your goals into two groups.
Short-term goals (first 3 projects):
- Choose one very simple project, like a shelf or tool rack.
- Finish it, even if it looks rough.
- Learn one new skill per project, such as using a square or drilling straight.
Long-term goals (next 6 to 12 months):
- Make a list of skills you want, like “accurate measuring,” “strong joints,” or “smooth finishes.”
- Plan projects that each build one or two of those skills.
- Track your progress in a notebook or app.
When your goals are clear, “how to get better at woodworking” stops feeling like a huge mystery. You know what to practice next.
Choose your woodworking style: hand tools, power tools, or a mix
You might think you need a full-size shop to start mastering woodworking. You do not.
You can pick from three broad paths:
- Hand tool focus: Saws, planes, chisels, hand drills.
- Quiet, good for apartments.
- Lower dust.
- More physical, but very satisfying.
- Power tool focus: Circular saw, drill, miter saw, sander.
- Faster cuts.
- Great if you have a garage or shed.
- Louder, needs more dust control.
- Hybrid approach: A mix of both.
- Use power tools for rough work.
- Use hand tools for detail and fitting.
Choose based on your space, budget, and noise limits. You can master woodworking with any of these paths. What matters is safe practice and skill, not buying every shiny tool you see online.
Create a safe and simple space for learning
Your workspace does not need to look like a glossy magazine photo.
You can set up in a garage, shed, or even a room corner. Focus on a few basics:
- Good lighting so you can see lines and grain.
- A sturdy surface, like a simple workbench or solid table.
- Safe tool storage, such as hooks, shelves, or a toolbox.
- Dust control, like a shop vacuum and sweeping after each session.
- Noise control, using ear protection and choosing quieter tools when needed.
Keep it small and simple at first. A clean, safe, basic space is better than a crowded one that scares you every time you walk in.
Core Skills You Must Learn To Start Mastering Woodworking
If you want to feel steady in the shop, you need a small set of core skills. These skills show up in almost every project, from a picture frame to a bookcase.
Think of them as layers:
- Understanding wood.
- Measuring and marking.
- Cutting.
- Shaping and smoothing.
- Joining pieces together.
Once you see these layers, “mastering woodworking” starts to feel like a clear path, not a giant wall.
Understand your material: how to read and choose wood
Wood is not just “wood.” It behaves in different ways.
Softwood vs hardwood:
- Softwood (like pine or fir) is cheaper, lighter, and easier to cut. Great for first projects.
- Hardwood (like oak, maple, walnut) is stronger and often prettier, but harder on tools and your patience.
Solid wood vs plywood:
- Solid wood is one solid piece, grain runs along the board.
- Plywood is thin layers glued together, strong and stable, great for cabinets and shelves.
When you buy boards, look for:
- Straight pieces: Sight down the edge like you look down a pool cue. Avoid twists and big bows.
- Grain direction: Lines should flow smoothly. Wild grain can tear when you cut or plane.
- Knots and defects: Small knots can be fine. Big cracks or loose knots are trouble near joints.
Learning to read wood makes your cuts cleaner and your projects last longer. It also saves money, because you stop buying boards that fight you.
Measure and mark wood accurately every time
Woodworking is really “measuring and cutting” over and over.
Your basic measuring kit:
- Tape measure.
- Ruler or folding rule.
- Combination square.
- Marking knife or sharp pencil.
A few simple habits help a lot:
- Measure twice before you cut.
- Use the same tape measure for the whole project.
- Mark your lines clearly, then mark the “waste side” so you know where to cut.
- Check square corners with your square, not just your eyes.
Accuracy keeps your projects from wobbling and keeps joints tight. It also reduces that sinking feeling when two parts do not fit at all.
Make clean cuts with saws without fear
Many people feel nervous around saws. That is normal.
Start with the main tools:
- Hand saw: Good for quiet, small cuts.
- Circular saw: Great for cutting boards and plywood to length and width.
- Jigsaw: Cuts curves and odd shapes.
- Miter saw: Fast and accurate for crosscuts and angles.
A few key points:
- Support the board on both sides so it does not pinch the blade.
- Stand steady with a clear line of sight to your cut.
- Cut on the waste side of your line so you can trim to fit.
- Keep fingers away from blades and always unplug or remove batteries before blade changes.
Practice on scrap wood first. You are not wasting wood, you are buying lessons.
Shape and smooth wood with planes, chisels, and sandpaper
Once you cut, you often need to adjust and smooth.
- A hand plane shaves thin curls to flatten or level a surface.
- Chisels clean up corners, joints, and small details.
- Sandpaper smooths edges and faces.
Use light pressure and take off small amounts. Work with the grain so you do not tear the surface. For sanding, a simple grit order is:
- 80 or 100 grit to remove rough marks.
- 150 grit to even things out.
- 220 grit for a smooth feel before finishing.
Sharpening can feel scary, but keep it simple. Even a basic sharpening stone or sandpaper on a flat surface helps. Sharp tools are actually safer because they cut predictably.
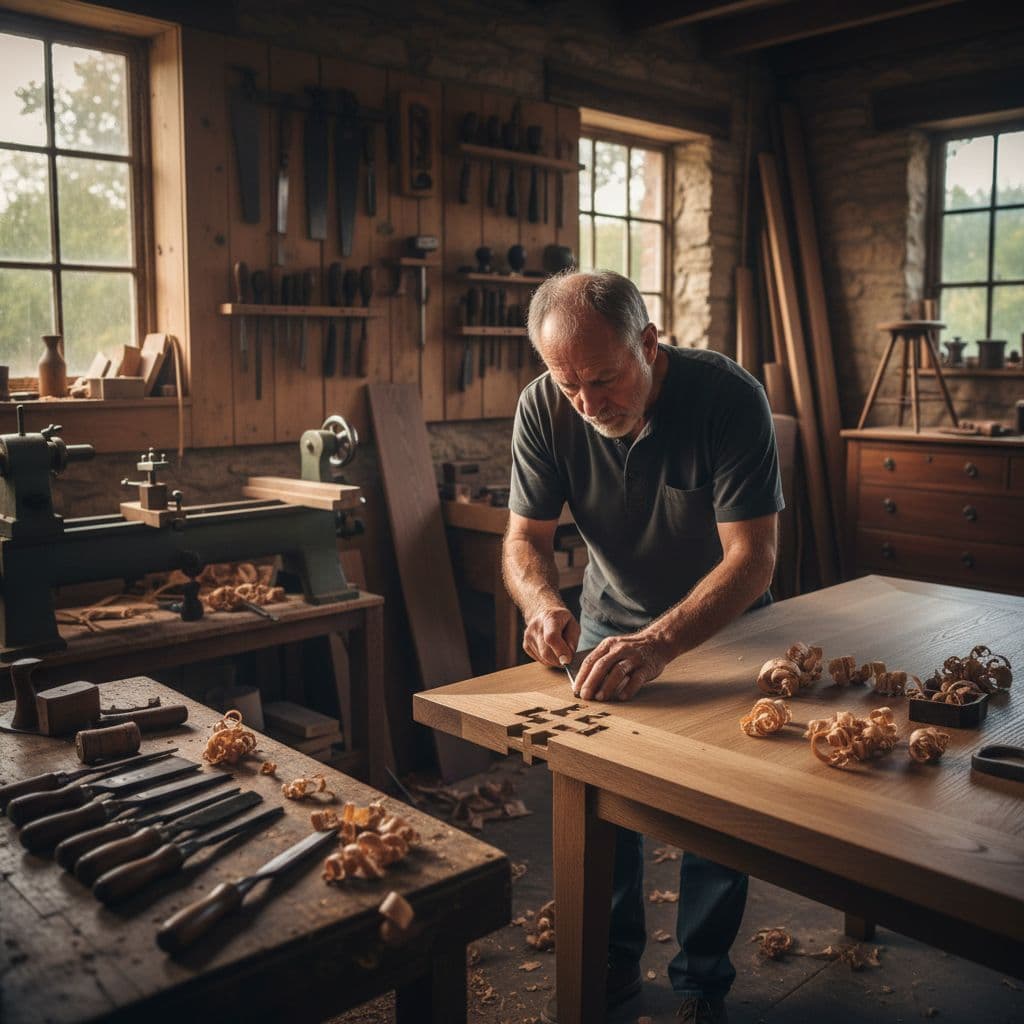
Learn a few strong wood joints you will use all the time
You do not need every fancy joint you see online. Start with a few you will use often.
- Butt joint with screws: Two pieces meet end to face, held with screws and glue. Good for simple shelves and boxes.
- Dowel joint: Round wooden pins (dowels) join two pieces. Strong and hidden.
- Pocket hole joint: Screws go in at an angle from one piece into another. Fast, strong, and great for frames and cabinets.
- Dado or rabbet: A groove or step cut into one board that holds another board. Strong for bookcases and boxes.
Pick one or two joints and repeat them across several projects. Strength matters more than fancy shapes.
Essential Tools For Mastering Woodworking On A Budget
You do not need a truckload of tools to start. Buy in stages so your wallet and your space can breathe.
Think about which tools will teach you the most and help you finish real projects.
Build a basic hand tool kit that can make real projects
A small hand tool kit can get you far:
- Tape measure.
- Combination square.
- Marking knife or sharpened pencil.
- Hand saw.
- Block plane.
- 3 or 4 chisels (for example 6 mm, 12 mm, 18 mm, 25 mm).
- Hammer or mallet.
- A few clamps.
- Sanding block and sandpaper.
Each tool trains your control and accuracy. You feel the material, not just the motor. That feedback helps you learn faster.
Add key power tools when you are ready to grow
Power tools speed things up, but you can add them slowly.
Good first choices:
- Drill or drill driver for holes and screws.
- Circular saw for straight cuts in boards and plywood.
- Random orbit sander to save your arms.
- Router later on, for edges and simple joints.
When you shop:
- Look for solid guards and easy-to-reach switches.
- Check used tools in person. Plug them in, listen for odd sounds, and avoid cracked parts.
- Read the manual, especially the safety section.
Start with the one tool that unlocks the next project you want to build.
Care for your tools so they last and work better
Tool care sounds boring, but it keeps you safe and saves money.
Simple habits:
- Wipe metal parts with a dry cloth after use to reduce rust.
- Keep blades and bits sharp or replace them when dull.
- Store tools in a dry spot, not on a damp floor.
- Coil cords loosely and check for cuts or loose plugs.
Good tools that work well help you stay calm and in control. That feeling is a big part of mastering woodworking over time.
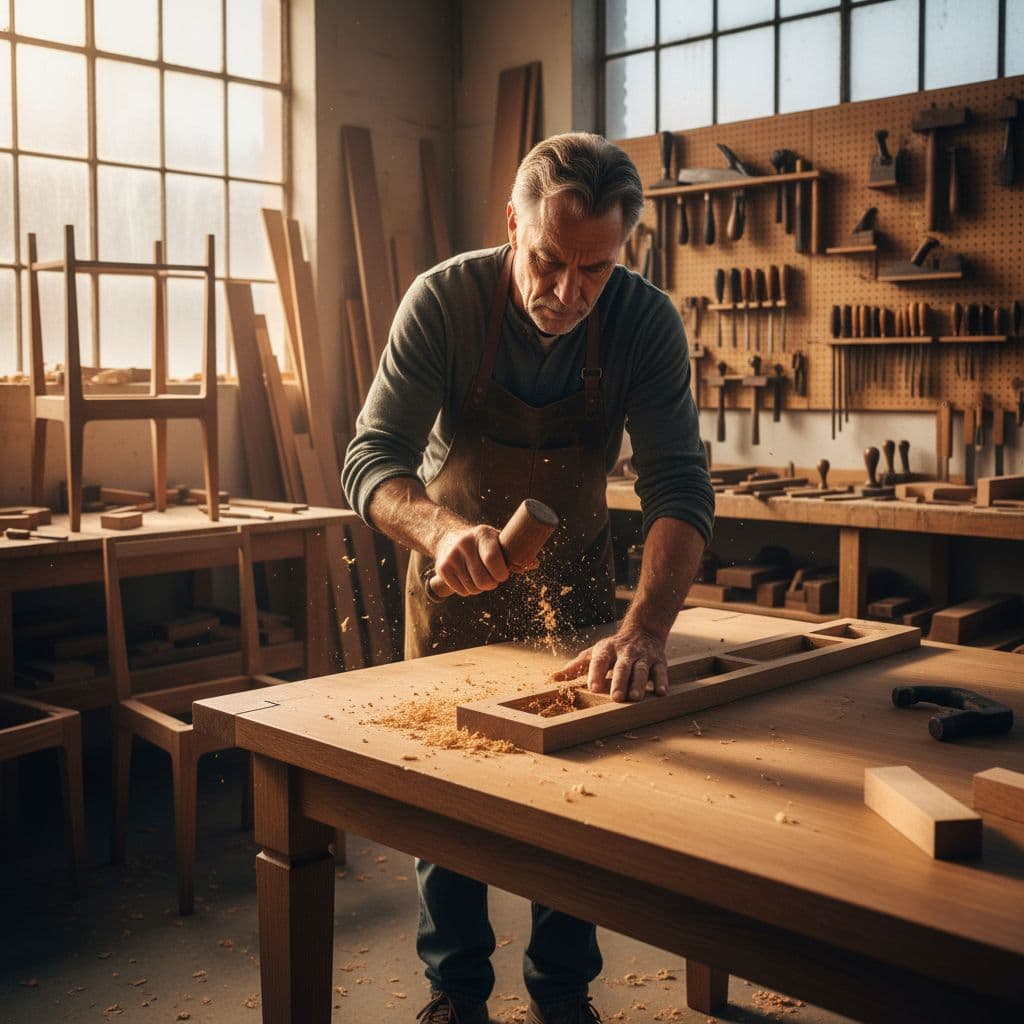
Practice Projects That Help You Master Woodworking Faster
Random woodworking design and projects can leave you stuck. Smart projects move you forward step by step.
Choose builds that repeat basic skills, add one or two new ones, and still feel useful at the end.
Start with very simple projects that teach the basics
Begin with projects that are hard to ruin and easy to fix:
- Small wall shelf.
- Cutting board.
- Tool rack.
- Simple open-top box.
These teach you:
- Measuring and marking.
- Straight cuts.
- Sanding.
- Basic joints like butt joints with screws or glue.
Perfection is not the goal. Finishing is. A rough but finished shelf teaches more than a “perfect” project that never leaves your imagination.
Level up with projects that use joints and hardware
Once you feel steady with simple builds, add joints and hardware.
Good next projects:
- Small step stool.
- Simple coffee table.
- Wall cabinet with a door.
These help you practice:
- Repeatable cuts for equal parts.
- Drilling straight holes and countersinks.
- Using glue and screws together.
- Adding hinges, brackets, or simple drawer slides.
Keep your designs plain. Flat panels and right angles are your friends. Let the structure teach you, not fancy shapes.
Plan your projects like a pro: drawings, cut lists, and lumber
A bit of planning saves a lot of cursing later.
Try this simple process:
- Sketch your idea on paper. Front view and side view if you can.
- Write key measurements next to each part.
- List each part with length, width, and thickness.
- Turn that into a cut list.
- From the cut list, make a shopping list for boards, plywood, and hardware.
Planning this way cuts down on wasted wood and last-minute store runs. It also makes you feel more in charge of your project.
Finishing Touches: Sanding, Stain, And Safe Wood Finishes
A good finish can turn a rough beginner project into something that looks store-bought. It hides small flaws, protects the wood, and feels nice to the touch.
You do not need fancy chemistry. Just a few simple, safe products and a calm pace.
Sand your projects so they look and feel smooth
Sanding is slow, but it matters.
- Sand in the direction of the grain.
- Start with a lower grit (80 or 100) to remove saw marks.
- Move to 150 grit, then 220 grit for a smooth finish.
Check:
- Edges that feel sharp, soften them slightly.
- Corners that look chipped, sand them by hand.
Wear a dust mask, especially with power sanders. Vacuum or wipe down surfaces so dust does not ruin your finish
Apply finish with simple steps for pro looking results
You do not need fancy brushes or spray gear. A clean rag or foam brush is often enough.
Basic process:
- Test your finish on a scrap piece from the same wood.
- Stir the finish gently, do not shake the can.
- Apply a thin coat, not a thick one.
- Wipe off extra if the product calls for it.
- Let it dry fully, longer if your space is cool or humid.
- Lightly sand with very fine grit (320 or 400) between coats if needed.
Rushing is the biggest beginner mistake. Give each coat time. Patience here makes your project feel solid and professional.
Keep Getting Better: Habits That Help You Truly Master Woodworking
Skills grow when you show up often, even for short sessions. Ten focused minutes of layout or sanding still count.
You do not need perfect days. You just need steady habits.
Put safety first every time you step into the shop
Safety is not extra. It is part of mastering woodworking.
Simple rules:
- Wear eye protection with both hand and power tools.
- Use ear protection around loud tools.
- Wear a dust mask when sanding or cutting for a long time.
- Avoid loose sleeves, jewelry, and long hair near spinning blades.
- Unplug or remove batteries before changing bits or blades.
- Never rush a cut to “just get it done.”
Safe habits let you relax and focus on the work instead of your fear.
Learn from every mistake and fix your work with confidence
You will cut pieces too short. You will see gaps in joints. You will sand through a corner.
This happens to everyone.
Some simple fixes:
- Small gaps: Use wood glue and fine sawdust as a filler.
- Slightly short parts: Adjust the matching part instead of starting over when that makes sense.
- Sanding marks: Go back to a lower grit, then move up again.
Keep a notebook in your shop. After each project, write what went well, what went wrong, and what you will do differently next time. This turns every project into a lesson, not a test you passed or failed.
Use plans, books, videos, and communities to grow faster
You do not have to figure everything out alone.
Use:
- Detailed project plans for structure.
- Beginner woodworking books for solid basics.
- Long-form videos where you can see full steps, not just highlights.
- Online groups or local clubs where you can ask “simple” questions without shame.
Share your projects, even the rough ones. Teaching someone else what you learned, or just writing it out, helps you remember it. That sharing is part of truly mastering woodworking over the long term.
Conclusion: Your Next Cut Matters More Than Your First Mistake
You started this guide wanting to turn rough boards into useful, beautiful projects. Now you have a clear path: set simple goals, learn core skills, pick a basic tool set, plan small projects, add honest finishes, and build safe, steady habits.
You do not need talent or a perfect shop. You need patience with yourself and a willingness to learn from each board you touch.
Pick one small project and one new skill to practice this week. Maybe it is a wall shelf and learning pocket hole joints. Maybe it is a cutting board and a first try at wipe-on poly.
Mastering woodworking is not a magic moment. It is you, showing up, fixing mistakes, and building one honest project at a time.
- Công ty Cổ phần Kiến trúc Xây dựng GiuseArt
- Liên hệ: Lê Văn Thiện
- Phone: 0972939830
- Email: [email protected]
- Website: www.giuseart.com